Tuesday - 1 July
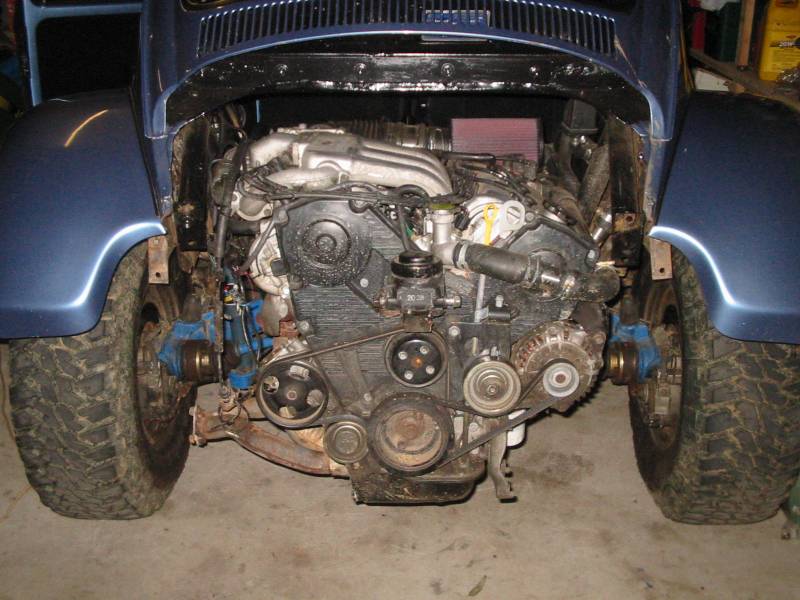
The engine has been pulled out again, ready for the final install and finishing touches.
I decided that I wanted to do something with the V6 to make it look pretty. I figure I had two options, get the intake and valve covers professional polished, and then clear coat them. Or get them ceramic coated by someone like HPC. Then I figure, why don't I buy an 8" bench grinder and a mop wheel and polish the damn things myself. Good idea!
So below is the valve cover to start with, with Mazda embossed on it (partly removed in that pic).
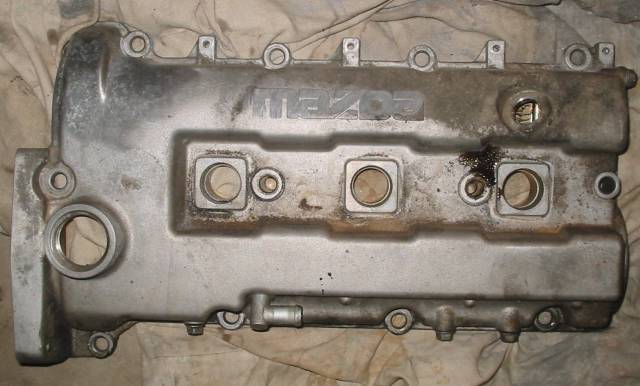
So I figure it would look better without Mazda on it, and sanded it off. Gave it a quick polish and it looks better already. Now I just gotta spend ages finely sanding and polishing everything.
Monday - 7 July
I continued polishing, and now have a very very sore neck (looking down polishing so much!). I spent forever sanding and grinding castings marks off everything to make them look smooth. The parts are very rough sand castings. Then I polished it all up on the bench grinder with a mop wheel (stitched first, then unstitched).
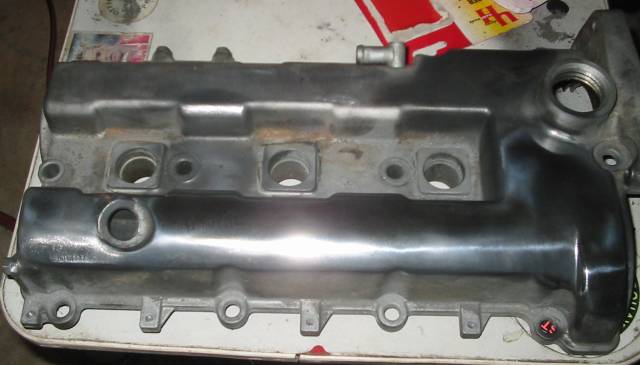
The used to look like this;

Now looks more like this...

I did a little more polishing after that photo, then painted it with a rock hard clear coat designed for coating polished aluminium called Glisten PC (from the makers of POR 15 - www.ppc.au.com ). Unfortunately I sucked at the painting part, and now have a few runs and bits of dust stuck in the clear coat. I will wait until it dries and see how it looks, then I'll decide if I can be bothered doing it again. Probably not though, too much work. The reason why I clear coated it was because polished alloy and mud (or the beach) don't mix very well. The clear should keep the aluminium looking bright and shiny and make it a simple hose-off job to clean.
Wednesday - 16 July
Just a quick update, I'm still going at it. Had problems with the rocker cover gasket, I bought a pair and they gave me two right hand side ones. Also the radiator cap rubber dried out and broke, so I had to find a radiator cap that worked (still not sure if the one I got will or not). Painted some bits blue, and basically got the engine assembled ready to be reinstalled. Then I can make my cold air intake.
Tuesday - 22 July
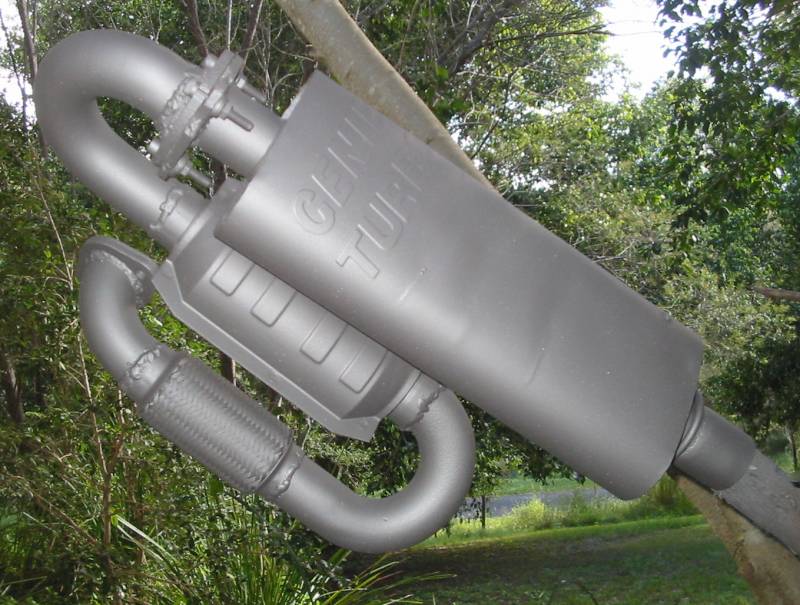
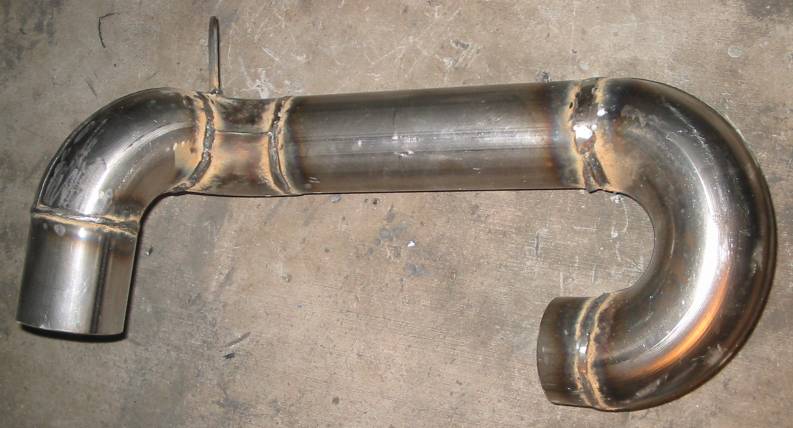
I thought I better make the old turbo muffler look respectable, so I painted it with a cast iron coloured heat proof paint. It is from the same makers as the clear coat I use, POR 15 guys. I tried brushing it on at first but it looked real streaky, so I got the spray gun out and sprayed it. Tree's make good painting tools :D. We'll see how good it is by seeing if it actually sticks to the stainless steel muffler. I still want to make a better bigger exhaust for my car, but haven't figured out what I want.
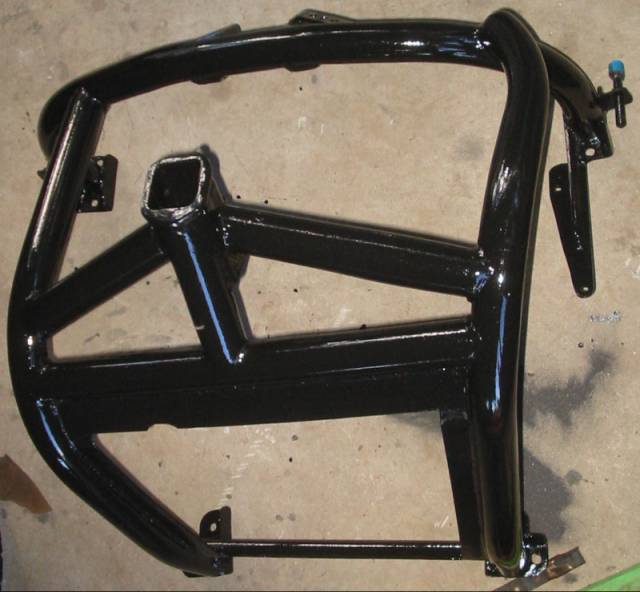
On the V6 support frame I finished adding gussets (well Brad did most of them) and flat sections to bolt skid plates to. I also cut and fitted some 3mm checker plate for the skid plate (into the square section below).
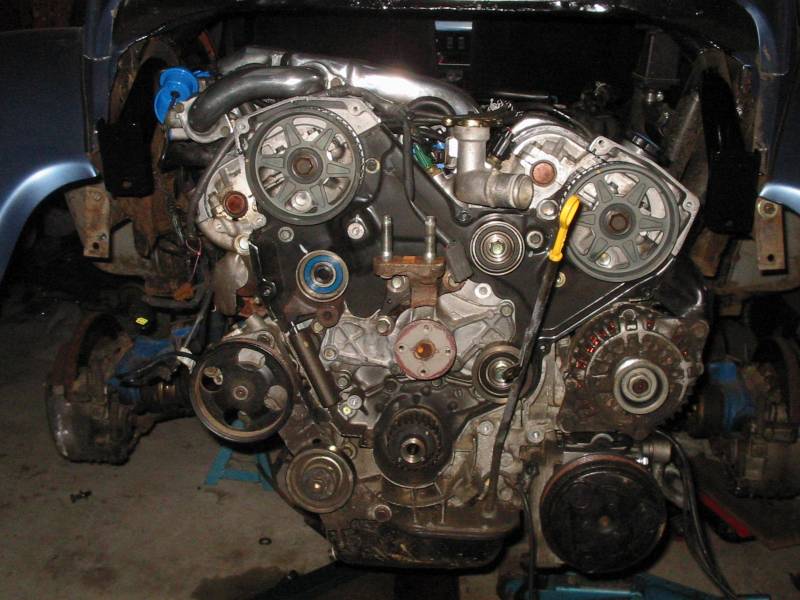
Since my low km's jap engine isn't actually low kms (it's done 90,000+kms), I decided it was best to change the timing belt while the car was apart. I couldn't get the crank pulley bolt off with the engine out of the car, so had to reinstall it in the car before I could loosen it (to put the engine in gear with the brakes on).
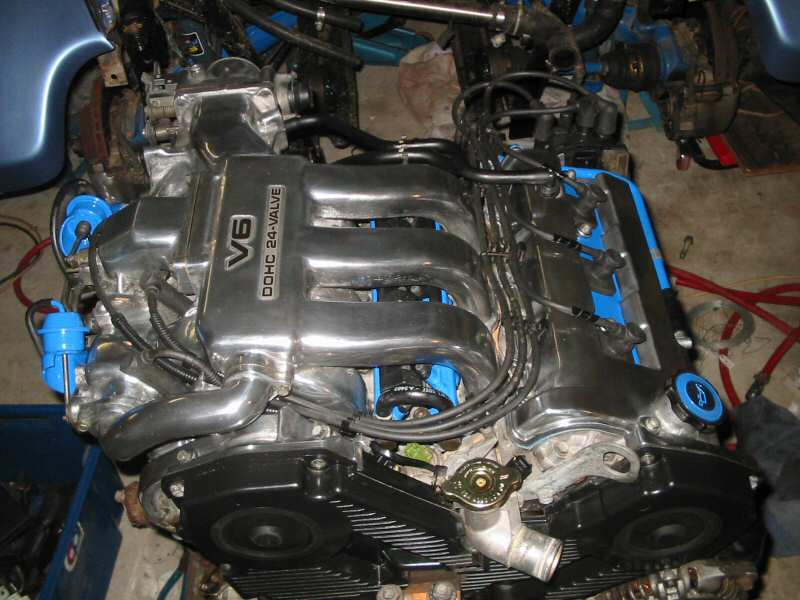
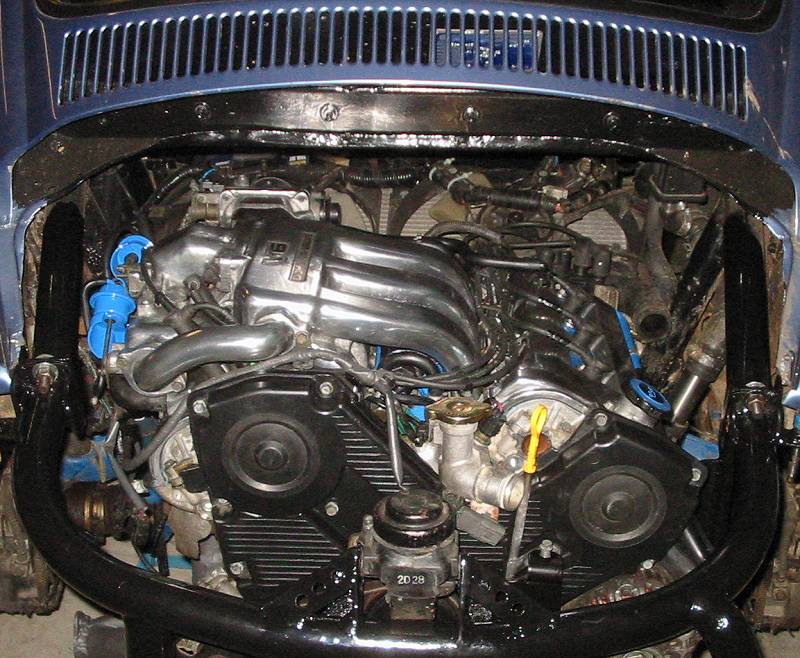
Once the timing belt was done I started bolting things back together. You can kinda see that the engine mount and V6 support frame brackets are now fairly heavily gusseted. You also get a good view of the radiator and thermo fans.
Next on the list is to change the CV's. I got some new Lobro ones at trade price which was good. The old ones were 2nd hand from an early 70's kombi (probably the original units) and were starting to get a little noisy, like an old bearing.
Sunday - 27 July
I changed my CV's, reconnected the engine, and finally made my cold air intake! I bought a 3" exhaust donut, and some 3 inch straight pipe, then got cutting and welding.
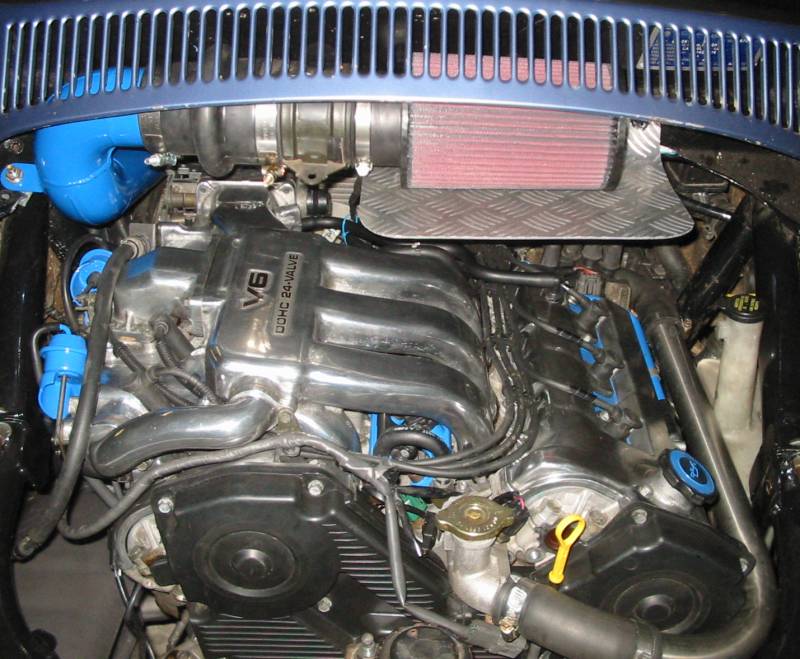
After a few tack welds, trial fit, tack again, trial fit again, I finally got something that worked in very limited space. I thought about polishing it and clear coating it, but painting the pipes blue was the easiest option. I used truck rubber hump hoses, and stainless steel T-bolt clamps. The piece of checker plate alloy deflects the hot air from the radiator below, so the air filter only gets warm air from above.

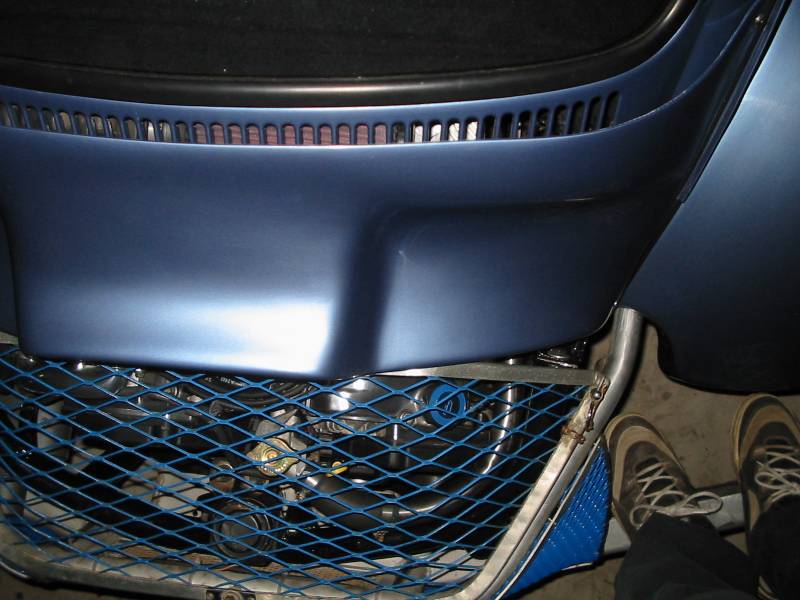
By balancing on the engine cage, I got a photo of the birds eye view. You can see the scoop on the rear of the car directs air to the air filter. I may have to put something over the top half when it rains though, I just don't know what.
One more shot of the engine.
The car is now mechanically ready for Valla 2003, the biggest VW show in Australia! More info here...